SAP has introduced new ABAP RAP capabilities in Build, generating interest among developers eager to explore these features using their free trial accounts. The following steps will help you to get started:
1. Login to the BTP Cockpit
Login to the BTP Cockpit to access your global account.
2. Subscribe to Build Code and ABAP
Navigate to the ‘Boosters’ tab and follow these steps:
Subscribe to ‘Get started with SAP Build Code’ and click ‘Start’ to install it.Subscribe to ‘Prepare an Account for ABAP Trial’ and click ‘Start’ to install the ABAP development environment.
3. Create a New Instance of ABAP Environment
Go to ‘Account Explorer,’ then navigate to your sub-account. Next, follow these steps:
Go to the ‘Service Marketplace,’ click on ‘ABAP Environment’ to create a new instance.
In the left panel, navigate to ‘Instances & Subscriptions,’ click on the ‘1 Key’ of the ABAP Environment, and download the file which you will use it later to configure the destination.
4. Configure the Destination
To configure the destination, follow these steps:
Go to the ‘Connectivity’ tab in the left panel, then navigate to ‘Destinations.’Click on ‘Import Destination’ and import this file.Name your destination, and copy and paste the ‘URL,’ ‘Client ID,’ and ‘Client Secret’ from the ‘1 Key’ file downloaded in step 3. Add your User (email) and Password.For the ‘Token Service URL,’ copy the URL from the file you download in step 3, append /oauth/token at the end of the URL, and then save.Check out this link for more details
5. Create an Application with ABAP Cloud
To create an application with ABAP Cloud:
Go to ‘Instances and Subscriptions,’ click on ‘SAP Build Code,’ then ‘Create’ and ‘Build an Application.’Select ‘ABAP Cloud.’
In the System Dropdown, you will see the list of Destinations connected to the BTP ABAP Environment. Select the destination pointing to your desired ABAP System. If the destination is valid, the System ID and System Client will display below the System’s Dropdown.
a. Use an Existing Package
If you have a preexisting package, click ‘Next’ to move directly to the ABAP project creation dialog.
b. Create a New Project as follows:
6. Create a Package and Connect Eclipse to SAP Build
To create a package, we need to connect Eclipse to the web system. Follow these steps:
Download and install Eclipse.Launch Eclipse, click on the ‘Help’ tab at the top, and select ‘Install New Software.’ Add this link: https://tools.hana.ondemand.com/latest, then select ‘ABAP development Tools’ and ‘Modeling tools for SAP BW/4HANA and SAP BW powered by SAP HANA.’Click ‘Next’ >> ‘Next’, accept the terms of the license agreement, then click ‘Finish.’
Select Authority/update site and click ‘Trust Selected.’ After completing the installation, click ‘Restart Now.’
Click on ‘File’ >> ‘New’ >> ‘Other’ >> Expand ‘ABAP’ and select ‘ABAP Cloud Project’ >> Click ‘Next.’
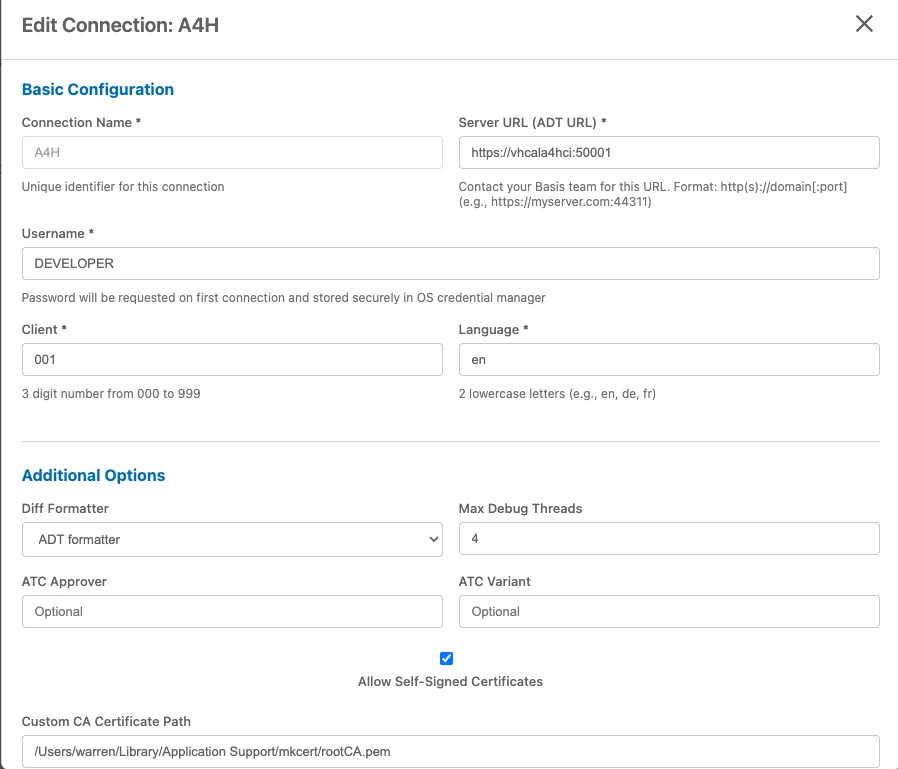
Copy the Destination URL from the BTP Cockpit and paste it into the ‘ABAP Service Instance URL,’ then click ‘Next.’
Click on ‘Copy Logon URL to Clipboard,’ paste it into your browser to log on successfully, then return to Eclipse and click ‘Finish.’
Return to the Lobby and click on the new ABAP Cloud project you created, then click ‘Open eclipse.exe.’
In Eclipse:
Select ‘Open an existing project’ and choose your project.
Now, you can create an ABAP project or package from the Lobby
SAP has introduced new ABAP RAP capabilities in Build, generating interest among developers eager to explore these features using their free trial accounts. The following steps will help you to get started:1. Login to the BTP CockpitLogin to the BTP Cockpit to access your global account.2. Subscribe to Build Code and ABAPNavigate to the ‘Boosters’ tab and follow these steps:Subscribe to ‘Get started with SAP Build Code’ and click ‘Start’ to install it.Subscribe to ‘Prepare an Account for ABAP Trial’ and click ‘Start’ to install the ABAP development environment.3. Create a New Instance of ABAP EnvironmentGo to ‘Account Explorer,’ then navigate to your sub-account. Next, follow these steps:Go to the ‘Service Marketplace,’ click on ‘ABAP Environment’ to create a new instance.In the left panel, navigate to ‘Instances & Subscriptions,’ click on the ‘1 Key’ of the ABAP Environment, and download the file which you will use it later to configure the destination.4. Configure the DestinationTo configure the destination, follow these steps:Go to the ‘Connectivity’ tab in the left panel, then navigate to ‘Destinations.’Click on ‘Import Destination’ and import this file.Name your destination, and copy and paste the ‘URL,’ ‘Client ID,’ and ‘Client Secret’ from the ‘1 Key’ file downloaded in step 3. Add your User (email) and Password.For the ‘Token Service URL,’ copy the URL from the file you download in step 3, append /oauth/token at the end of the URL, and then save.Check out this link for more details5. Create an Application with ABAP CloudTo create an application with ABAP Cloud:Go to ‘Instances and Subscriptions,’ click on ‘SAP Build Code,’ then ‘Create’ and ‘Build an Application.’Select ‘ABAP Cloud.’In the System Dropdown, you will see the list of Destinations connected to the BTP ABAP Environment. Select the destination pointing to your desired ABAP System. If the destination is valid, the System ID and System Client will display below the System’s Dropdown.a. Use an Existing PackageIf you have a preexisting package, click ‘Next’ to move directly to the ABAP project creation dialog.b. Create a New Project as follows:6. Create a Package and Connect Eclipse to SAP BuildTo create a package, we need to connect Eclipse to the web system. Follow these steps:Download and install Eclipse.Launch Eclipse, click on the ‘Help’ tab at the top, and select ‘Install New Software.’ Add this link: https://tools.hana.ondemand.com/latest, then select ‘ABAP development Tools’ and ‘Modeling tools for SAP BW/4HANA and SAP BW powered by SAP HANA.’Click ‘Next’ >> ‘Next’, accept the terms of the license agreement, then click ‘Finish.’Select Authority/update site and click ‘Trust Selected.’ After completing the installation, click ‘Restart Now.’Click on ‘File’ >> ‘New’ >> ‘Other’ >> Expand ‘ABAP’ and select ‘ABAP Cloud Project’ >> Click ‘Next.’Copy the Destination URL from the BTP Cockpit and paste it into the ‘ABAP Service Instance URL,’ then click ‘Next.’Click on ‘Copy Logon URL to Clipboard,’ paste it into your browser to log on successfully, then return to Eclipse and click ‘Finish.’Return to the Lobby and click on the new ABAP Cloud project you created, then click ‘Open eclipse.exe.’In Eclipse:Select ‘Open an existing project’ and choose your project.Now, you can create an ABAP project or package from the Lobby Read More Technology Blogs by SAP articles
#SAP
#SAPTechnologyblog