Hi, Welcome to My First Blog!!
This blog will help you set up your SAP Cloud Integration tenant in the SAP Integration Suite step by step. If you are new to SAP Integration or just getting started with the SAP BTP Platform, this guide is for you. I’ve made the steps easy to follow, so you can quickly start building your integration flows. In this blog, I have created instances using Boosters, which will be very helpful for you, when you want to create instances for your capabilities.
So, Let’s Get Started:
1. Create an SAP Account
Once you create the SAP Account. You will receive the activation link in your registered Gmail account. Go to your Gmail and select “Activate your account”.
2. Now Login to SAP BTP Cockpit:
Sign in with your registered Gmail address.You will get into the SAP BTP Cockpit Home page.
Click on Trial Home and choose the region that’s closest to you and Select Create Account.
Once everything is loaded, Click on continue.
You will get to see the below screen. Select the “Go To Your Trial Account”.
3.Click on the Subaccount.
4.Add Service:
Go to the Services–>Service Market Place and Search for “Integration Suite”.
Create New Instance or Subscription for Integration Suite:
Click on View Subscription and it will take you to the instances and subscriptions page.
5. Add User Role:
Go to Security–>UsersClick on the User
Add Role Collections–>Click on Assign Role Collection and Add “Integration Provisioner”.
Once Integration Provisioner is assigned, Close all the tabs and Clear cache and Login to BTP cockpit again.Now, You can go to Instances and Subscriptions Tab and Click on Integration Suite or Select Go to Application.
You will see the below screen.
6. Add Capabilities:
Select “add Capabilities” and choose what capabilities you need based on your requirement and Click on Next.
You will be able to see that all the capabilities are in progress.
Once all the capabilities are activated, we need to create instances.
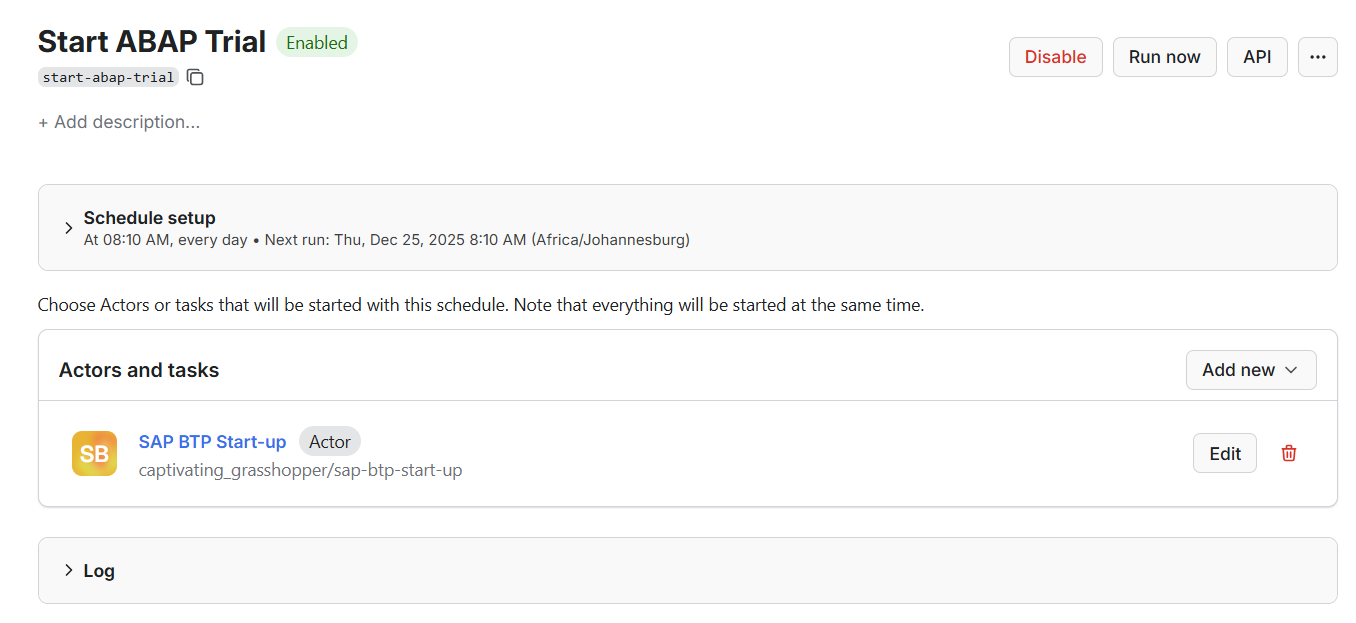
7. Creating Instances Using Boosters:
Go to Boosters- Boosters will assign roles required for the Capabilities which are in the activated state.And Search for Enable Integration Suite and Click on Start.
It will automatically fetch our trial account details
Select the Cloud Integration Capability and Finish.
Once Booster executed successfully, you can see the required instances are automatically created in Instances and subscriptions tab.
8. Go To Application:
Now you can go to the Integration Suite application. You will be able to see the Cloud Integration tenant is successfully created.
Now, you can Create or Import packages in the tenant and Start Designing your Integration Flows:
———————————————————–THE END————————————————————
I hope this blog will be helpful for you.
Happy Integration!!
Hi, Welcome to My First Blog!!This blog will help you set up your SAP Cloud Integration tenant in the SAP Integration Suite step by step. If you are new to SAP Integration or just getting started with the SAP BTP Platform, this guide is for you. I’ve made the steps easy to follow, so you can quickly start building your integration flows. In this blog, I have created instances using Boosters, which will be very helpful for you, when you want to create instances for your capabilities.So, Let’s Get Started:1. Create an SAP AccountOnce you create the SAP Account. You will receive the activation link in your registered Gmail account. Go to your Gmail and select “Activate your account”.2. Now Login to SAP BTP Cockpit:Sign in with your registered Gmail address.You will get into the SAP BTP Cockpit Home page.Click on Trial Home and choose the region that’s closest to you and Select Create Account.Once everything is loaded, Click on continue.You will get to see the below screen. Select the “Go To Your Trial Account”.3.Click on the Subaccount.4.Add Service:Go to the Services–>Service Market Place and Search for “Integration Suite”.Create New Instance or Subscription for Integration Suite:Click on View Subscription and it will take you to the instances and subscriptions page.5. Add User Role:Go to Security–>UsersClick on the UserAdd Role Collections–>Click on Assign Role Collection and Add “Integration Provisioner”.Once Integration Provisioner is assigned, Close all the tabs and Clear cache and Login to BTP cockpit again.Now, You can go to Instances and Subscriptions Tab and Click on Integration Suite or Select Go to Application.You will see the below screen.6. Add Capabilities:Select “add Capabilities” and choose what capabilities you need based on your requirement and Click on Next.You will be able to see that all the capabilities are in progress.Once all the capabilities are activated, we need to create instances.7. Creating Instances Using Boosters:Go to Boosters- Boosters will assign roles required for the Capabilities which are in the activated state.And Search for Enable Integration Suite and Click on Start.It will automatically fetch our trial account detailsSelect the Cloud Integration Capability and Finish.Once Booster executed successfully, you can see the required instances are automatically created in Instances and subscriptions tab.8. Go To Application:Now you can go to the Integration Suite application. You will be able to see the Cloud Integration tenant is successfully created.Now, you can Create or Import packages in the tenant and Start Designing your Integration Flows:———————————————————–THE END————————————————————I hope this blog will be helpful for you.Happy Integration!! Read More Technology Blog Posts by Members articles
#SAP
#SAPTechnologyblog