1.Introduction:
This document provides an in-depth overview of the necessary changes in ABAP development when migrating from any middleware platform to SAP CPI. It particularly addresses the migration of RFC-based communication in middleware to SOAP-based web services in CPI.
2.Background:
The integration platform that enables communication between SAP and external systems. In any middleware, RFC adapters are commonly used to interact with remote systems through RFCs. However, with the shift to SAP CPI/IS, the integration landscape changes, and CPI/IS does not support sender RFCs, so it is necessary to refactor and convert these RFC calls into SOAP web services.
3.Transition to SAP CPI:
In CPI, communication is predominantly based on HTTP/SOAP or REST protocols. Therefore, the ABAP function modules that were exposed as RFCs in integration platform must now be exposed as SOAP web services to be compatible with CPI’s integration model.
4.Why Convert RFC to a SOAP Web Service Rather Than Using a Wrapper?
When a wrapper is created for a sender or receiver RFC, SAP automatically configures the service provider (inbound interface) in SOAMANAGER, thereby generating the web service from the scratch.
5.ABAP Development Steps – Replacing RFC with SOAP Web Services:
5.1. Obtain the WSDL file from the RFC in SAP or from Integration team.
5.1.1.In SE37, enter the RFC to convert to SOAP.
5.1.2.Go to Utilities -> More Utilities -> Create Web Service -> From Function Module.
5.1.3.Enter the RFC name and description, then click Next.
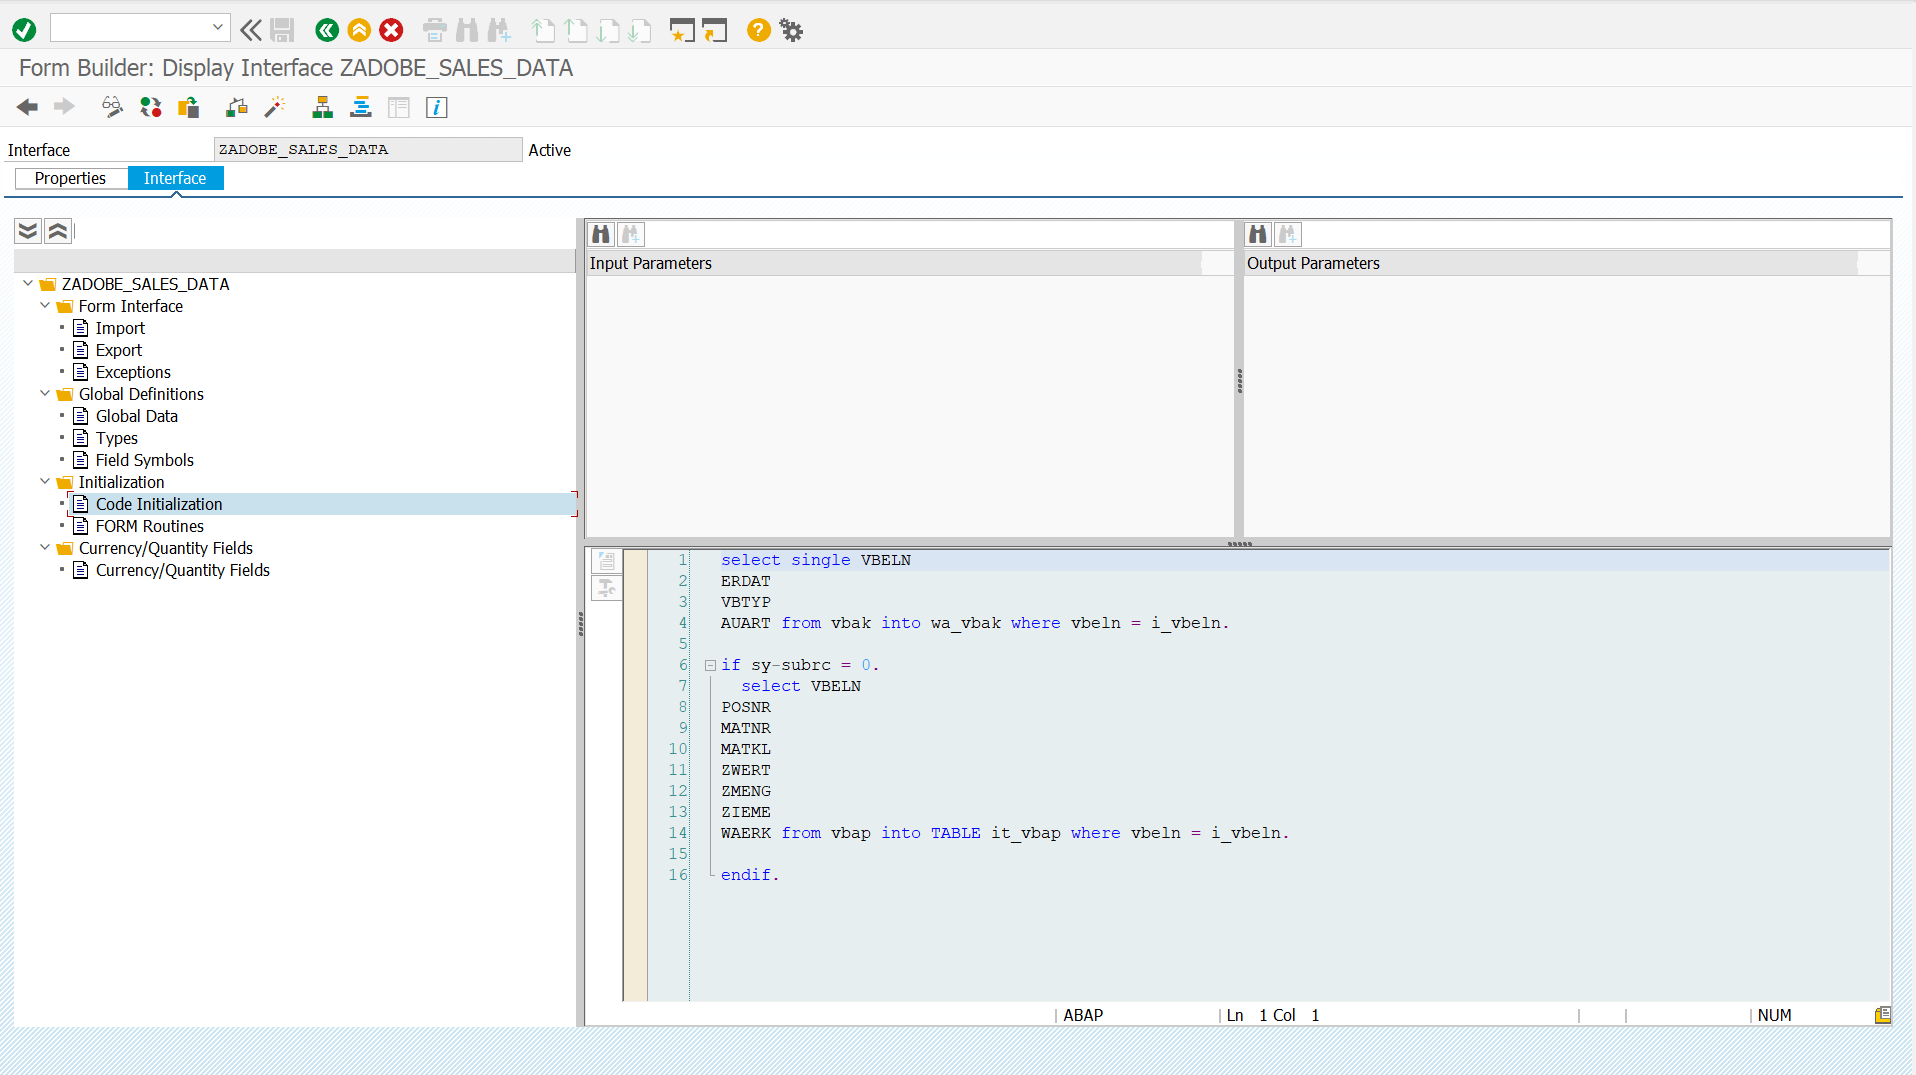
5.1.4.Fill in the details and click Finish.
The screen will appear as shown below.
5.1.5.Click on the WSDL tab to retrieve the WSDL file and modify the wsdl file.
5.2. Modify the WSDL to an asynchronous structure.
5.2.1. Why to modify the wsdl structure?
The WSDL structure used in PI/PO follows a synchronous pattern, with both request and response. When uploading the same file while creating a web service, SAP expects a response from the middleware. To convert it to asynchronous, the WSDL structure must be modified.
Before modification of WSDL : ( It has both input and output parameter )
After modification of WSDL : ( It has only input parameter )
5.2.2. How it can be modified?
At the end of </wsdl:types> tag, add the below template and update the required details:
Replace ZTEST in the template with the actual RFC name.
<wsdl:message name=”ZTEST”>
<wsdl:part name=” ZTEST ” element=”tns: ZTEST “/>
</wsdl:message>
<wsdl:portType name=” ZTEST”>
<wsp:Policy>
<wsp:PolicyReference URI=”#IF_IF_ ZTEST “/>
</wsp:Policy>
<wsdl:operation name=” ZTEST”>
<wsp:Policy>
<wsp:PolicyReference URI=”#OP_IF_OP_ ZTEST”/>
</wsp:Policy>
<wsdl:input message=”tns: ZTEST”/>
</wsdl:operation>
</wsdl:portType>
</wsdl:definitions>
5.3. Upload the WSDL and create the web service in SE80.
5.3.1.Navigate to sproxy tcode and click on create button.
5.3.2.Click on service consumer radio button and then continue.
5.3.3.Click on service External WSDL/Schema and then continue.
5.3.4.Click on local file and then continue.
5.3.5.Upload the wsdl file and click on continue.
5.3.6.Provide the package name and then the TR details and then continue .
5.3.7.Click on complete and then save and activate the service.
5.4.Use the “Where Used” function to identify the related report, function module, or class of the RFC.
5.5.Replace the RFC code with the corresponding SOAP web service code,ensuring all required parameters are passed as in the original RFC.
RFC Code :
SOAP Code:
5.6.Configure the web service in SOAMANAGER.
5.6.1.Navigate to SOAMANAGER tcode and click on web service configuration.
5.6.2.Provide and select the web service name
5.6.3. Click on the create button manual configuration to create a logical port for the webservice. Provide the Port name and description.
5.6.4. In the consumer security tab, give the s-user ID and password and click next.
5.6.5. Provide the correct endpoint in the URL tab and click next.
5.6.6. In the Messaging tab, select suppress id transfer in Message ID Protocol and SAP RM in RM Protocol tab and click next.
5.6.7. Click on finish to complete the setting.
5.6.8: Click on ping test for the successful setup.
1.Introduction:This document provides an in-depth overview of the necessary changes in ABAP development when migrating from any middleware platform to SAP CPI. It particularly addresses the migration of RFC-based communication in middleware to SOAP-based web services in CPI.2.Background:The integration platform that enables communication between SAP and external systems. In any middleware, RFC adapters are commonly used to interact with remote systems through RFCs. However, with the shift to SAP CPI/IS, the integration landscape changes, and CPI/IS does not support sender RFCs, so it is necessary to refactor and convert these RFC calls into SOAP web services.3.Transition to SAP CPI:In CPI, communication is predominantly based on HTTP/SOAP or REST protocols. Therefore, the ABAP function modules that were exposed as RFCs in integration platform must now be exposed as SOAP web services to be compatible with CPI’s integration model.4.Why Convert RFC to a SOAP Web Service Rather Than Using a Wrapper?When a wrapper is created for a sender or receiver RFC, SAP automatically configures the service provider (inbound interface) in SOAMANAGER, thereby generating the web service from the scratch.5.ABAP Development Steps – Replacing RFC with SOAP Web Services: 5.1. Obtain the WSDL file from the RFC in SAP or from Integration team. 5.1.1.In SE37, enter the RFC to convert to SOAP. 5.1.2.Go to Utilities -> More Utilities -> Create Web Service -> From Function Module. 5.1.3.Enter the RFC name and description, then click Next. 5.1.4.Fill in the details and click Finish. The screen will appear as shown below. 5.1.5.Click on the WSDL tab to retrieve the WSDL file and modify the wsdl file. 5.2. Modify the WSDL to an asynchronous structure. 5.2.1. Why to modify the wsdl structure? The WSDL structure used in PI/PO follows a synchronous pattern, with both request and response. When uploading the same file while creating a web service, SAP expects a response from the middleware. To convert it to asynchronous, the WSDL structure must be modified.Before modification of WSDL : ( It has both input and output parameter )After modification of WSDL : ( It has only input parameter ) 5.2.2. How it can be modified? At the end of </wsdl:types> tag, add the below template and update the required details: Replace ZTEST in the template with the actual RFC name. <wsdl:message name=”ZTEST”> <wsdl:part name=” ZTEST ” element=”tns: ZTEST “/> </wsdl:message> <wsdl:portType name=” ZTEST”> <wsp:Policy> <wsp:PolicyReference URI=”#IF_IF_ ZTEST “/> </wsp:Policy> <wsdl:operation name=” ZTEST”> <wsp:Policy> <wsp:PolicyReference URI=”#OP_IF_OP_ ZTEST”/> </wsp:Policy> <wsdl:input message=”tns: ZTEST”/> </wsdl:operation> </wsdl:portType> </wsdl:definitions>5.3. Upload the WSDL and create the web service in SE80. 5.3.1.Navigate to sproxy tcode and click on create button. 5.3.2.Click on service consumer radio button and then continue. 5.3.3.Click on service External WSDL/Schema and then continue. 5.3.4.Click on local file and then continue. 5.3.5.Upload the wsdl file and click on continue. 5.3.6.Provide the package name and then the TR details and then continue . 5.3.7.Click on complete and then save and activate the service.5.4.Use the “Where Used” function to identify the related report, function module, or class of the RFC.5.5.Replace the RFC code with the corresponding SOAP web service code,ensuring all required parameters are passed as in the original RFC.RFC Code :SOAP Code:5.6.Configure the web service in SOAMANAGER. 5.6.1.Navigate to SOAMANAGER tcode and click on web service configuration. 5.6.2.Provide and select the web service name 5.6.3. Click on the create button manual configuration to create a logical port for the webservice. Provide the Port name and description. 5.6.4. In the consumer security tab, give the s-user ID and password and click next. 5.6.5. Provide the correct endpoint in the URL tab and click next. 5.6.6. In the Messaging tab, select suppress id transfer in Message ID Protocol and SAP RM in RM Protocol tab and click next. 5.6.7. Click on finish to complete the setting. 5.6.8: Click on ping test for the successful setup. Read More Technology Blog Posts by Members articles
#SAP
#SAPTechnologyblog